Posts

Showing posts from March, 2015

Trial Tuesday: DIY Easter Egg Dye

Image
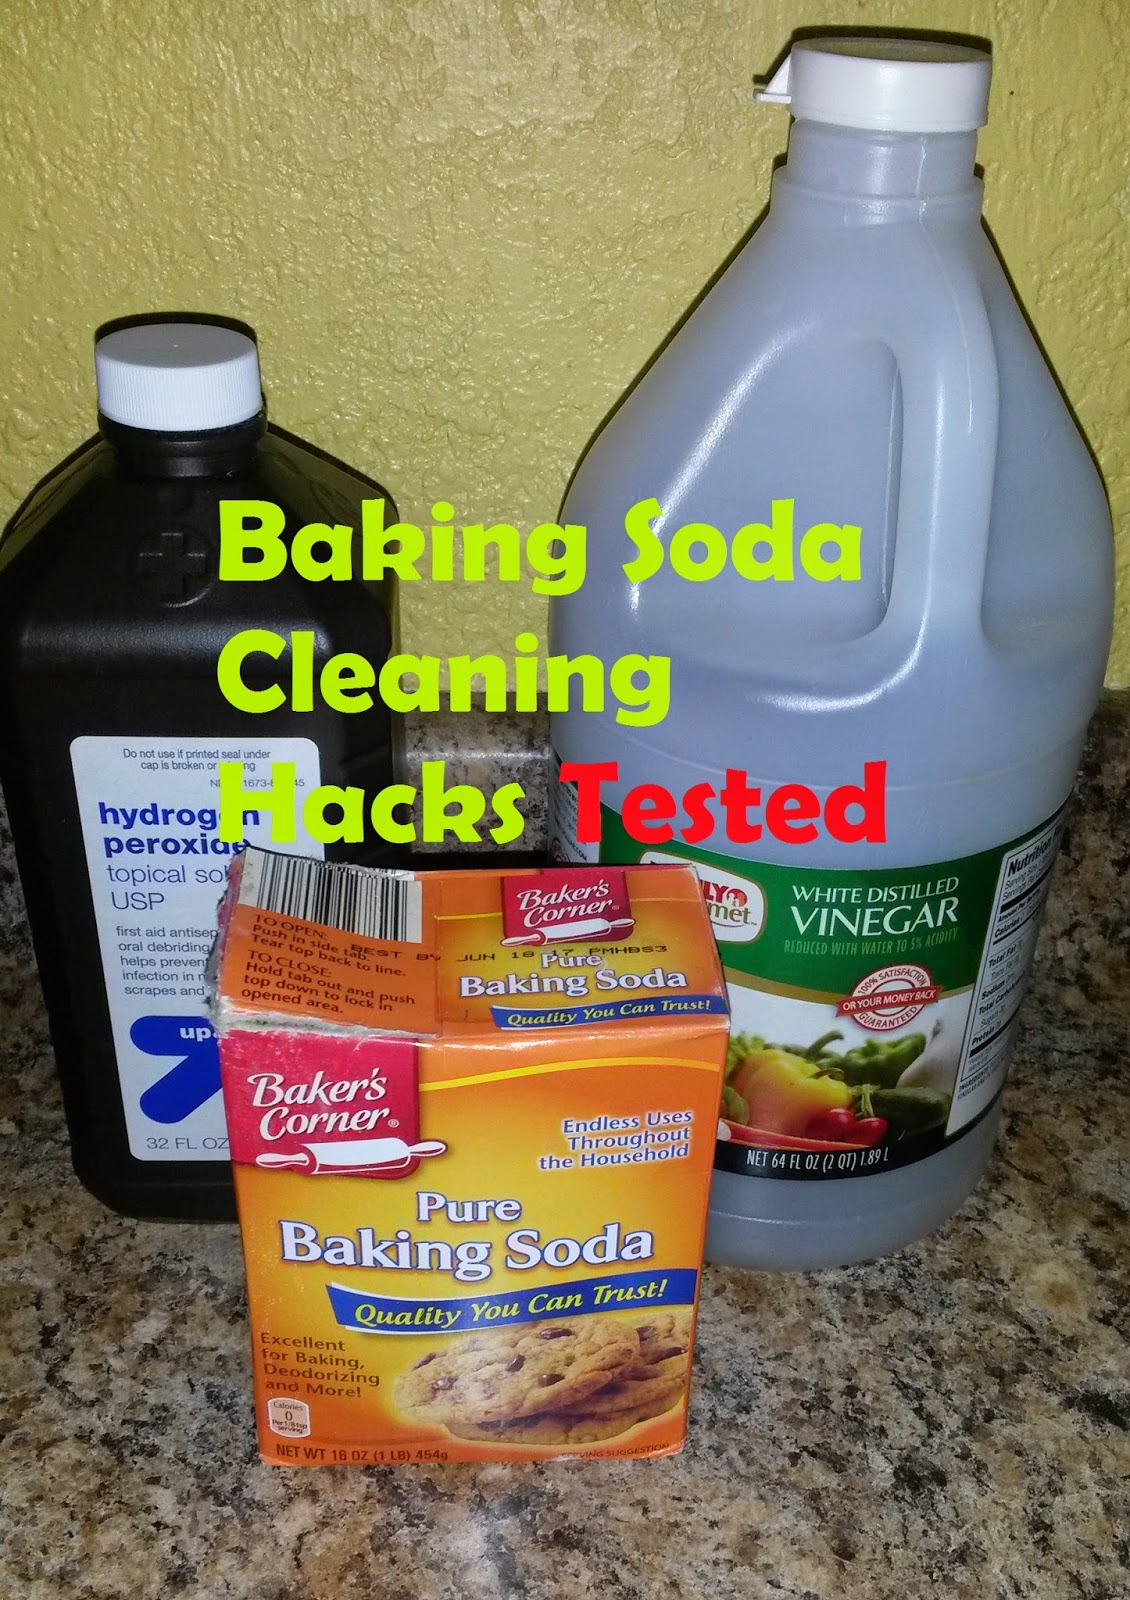
Did you know that you can make your own Easter Egg Dye using food coloring? Well, according to the back of the food coloring box you can. And I didn't doubt that it would work but I wondered about the quality. I also wanted to do some experiments while dying the eggs. What You Will Need: 12-18 Eggs 2-Cups Boiling Water 4-Teaspoons Vinegar Directions: 1. Boil your water. I used the trusty microwave for this step. 2. Divide the water up between bowls. You can use as many bowls as you would like colors. I personally used five bowls. 3. The back of your food coloring box will always have a chart that shows number of drips to create whatever colors you want. For example, three blue drops and one green drop make Aztec Blue. Follow these instructions for best results. You will need to mix the food coloring because the dye will sit at the bottom Plain Eggs TRIALS 1. Can you use a regular crayon to write on your egg before dying? I thought yes be

Makeup Monday: Hair Straightener Beauty Basics

Image
This week, for the last installment of Beauty Basics- Hair Tools, I am bringing you a simple post of how to use a hair straightener. While the hair straightener is probably the easiest tool to use, if not used properly you can really damage your hair. So, for some important tips and tricks, keep reading. If you missed them and are are interested, check out my Curling Iron  and Hot Roller  tutorials after reading this post. My Hair Air-dried while awake. This is a very tame version of my hair.  Directions 1. Apply heat protecting spray and comb your hair. I am currently using Tresemme but there are many different brands. And I little goes a long way. I actually prefer the John Freda Heat Protecting Spray. You are going to make your main part at this point as well. 2. Next you are going to use a clip or hair tie to part your hair in a half-up pony tail. One of the biggest mistakes that people make is skipping this step. You cannot straighten your hair from t

Thrifty Thursday: DIY Egg Garland

Image
Easter is coming up quickly this year! And it is yet another holiday that I have minimal decorations for. So of course I did a DIY project to decorate my fireplace mantle, and now I am sharing it with you. I set off on Pinterest to find different Easter garland ideas and I found a bunch.Most of the garland ideas involved using string and the hole at the top of the egg but I thought that there had to be an easier way. What You Will Need: Twine Plastic Eggs Hot Glue/ Glue Gun Directions: 1. Measure and cut your twine to size. Then decide how many eggs you will use and what distance apart you want them. You should also decide on a color pattern. 2. Use your glue gun to add a dab of hot glue to each egg. Do not make your dab too low or the egg will flop forward. 3. Continue with your eggs. Remember to keep in mind the distance that you are gluing them onto your rope. Finished Product: This DIY didn't cost me anything because I already had the twi

How To Do Wednesday: Storage Cleaning Tips

Image
I was busy over the weekend cleaning my attic and it got me to thinking how could I turn that daunting task into a post? So I got my camera out, without a plan and took some before pictures. More than half of this mess was clothes and toys that my daughter grew out of, along with holiday and home decor items. Quite frankly, it was overwhelming to look at. Now, I love organizing so while I had no plan to start, I just decided to jump right in. I made two piles: Garbage and Donate . I would suggest to make a rummage pile if you plan on doing that, but I have tried it and it's not worth the effort to me. My Piles: Donate Garbage After sorting I was able to reuse boxes. Since most of the boxes that I have are already reused, I knew that I needed to figure out another way to label my boxes. Then I thought about some labels that I bought from Dollar Tree recently. I used Sharpies to write on the labels. I like the labels because they are distinctive and

Trial Tuesday: Testing Baking Soda Cleaning Hacks

Image
I am in a Spring Cleaning kind of mood.I have been organizing and cleaning now for the last few weeks. To keep in the Spring cleaning spirit, I have decided to test cleaning hacks for the next few weeks. This week I will be testing  Baking Soda cleaning hacks. These hacks in particular are supposed to easily remove grease and burns from your oven, cookie sheets, or stainless steel pans. Cleaning Your Oven Baking Soda and Water Before: I should note that I have a self-cleaning oven that I use (very rarely) because I hate the burning smell that it produces. It's been about 2 months since cleaning the oven with the self-cleaner. Directions 1. Sprinkle the baking soda directly on the oven surface and door. 2. Slowly add the water. 3. Gently scrub to combine the baking soda and water with a scrubbing pad. You will be creating a paste consistency out of your mixture. 4. Allow the mixture to sit for at least 5 minutes before cleaning the paste of