Posts

Showing posts with the label Trial Tuesday

Trial Tuesday: Removing Scratches From Wood

Image
If you haven't figured it out by now, furniture is not made like it used to be. For this reason, when looking for wooden pieces I usually opt for the old, heavy wooden pieces over the plywood of today. So, when I look for furniture, it's typically at a thrift store or rummage sale. I take such pride in finding pieces and repurposing them. You can take something old and make it like new with a little effort. While repainting furniture can be fun, it is even better when you find a piece that just needs a good cleaning. So when I came across the Pin below, I was very curious to see if this technique worked. TRIAL What You Will Need 1/2 Cup Olive Oil 1/2 Cup Vinegar Wash Cloth Before Directions Mix vinegar and oil. Use a wash cloth to apply the mixture to your scratch. Repeat steps if necessary. After Results: FAIL Note that literally nothing happens. Now, while this scratch is pretty deep, isn't that the point? I did try thi...
Trial Tuesday: Hazy Headlight Hack

Image
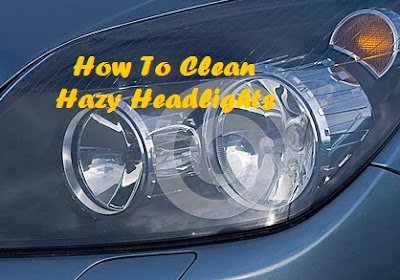
So, I will start by saying that my car has the MOST hazy headlights ever! I have no idea why and comparing other cars of the same model, I think that mine are just defective or something. For this reason, I am always looking for ways to clean my headlights. I have tried the store bought products and while they work for a bit, the shine never lasts. And, at $6 a bottle, it just seems like a waste of money. For this reason, I needed to find a hack to clean my headlights.I came across a Pin that said that you could use toothpaste to clean hazy headlights. I decided that I needed to put that to the test! What You Will Need Toothpaste A scrubbing pad (not scouring) Water Clean washcloth or paper towel Before 1. Apply toothpaste to your headlight. 2. Gently scrub the toothpaste all over the headlight. 3. Allow the toothpaste to sit for a few minutes. 4. Use the water and washcloth or paper towel to remove the toothpaste. After Result: PASS T...

Trial Tuesday: Removing Printed Labels From Plastic

Image
So if you have been following my blog. you know that I have really been getting more organized in 2015. One way that I continue to add new items to my home is to recycle the products that I use. Recently, I came across this Pin that I wanted to try out for baking ingredient storage: find this tutorial on www.hometalk.com Now while this idea is very clever I wasn't sure if I would use paint to redo the cans that I have. This got me thinking about another Pin that I saw on Pinterest about removing printed labels with nail polish remover. Found on www.2busybrunettes.com After I saw this Pin, I checked it out on YouTube and with thin plastic, it does work. With this in mind I wondered if I could remove the label from the Folgers Container. Which brings us to this weeks trial. TRIAL What You Will Need: Before: Directions: Fold a piece of paper towel and soak it in nail polish remover.  Place nail polish soaked paper towel on the label for 5 minutes....

Trial Tuesday: DIY Boot Cleaners

Image
Where I live, the weather changes according to the season. This means that during Winter where I live, it snows every year. For those of you who also experience snow, you know what it's like to ruin your shoes and boots with rock salt. I do not have that big of a closet so I switch out my wardrobe twice per year. I also take this time to purge clothes and shoes that I am not wearing or have over-warn. Since cute Winter boots are pretty pricey, I like to hold onto my boots as long as possible. This year before I deciding what boots to purge, I wanted to take the time to find methods to revitalize my winter boots. I found two methods, one for leather and the other for suede. I wasn't sure how well these methods would work so I am putting them to the test! LEATHER BOOT TEST Before: Dull leather What You Will Need: Olive Oil 1-Clean, soft washcloth 1-Paper Towel Sheet TRIAL Directions: Start by wiping down your boots if there is loose d...

Trial Tuesday: DIY Easter Egg Dye

Image
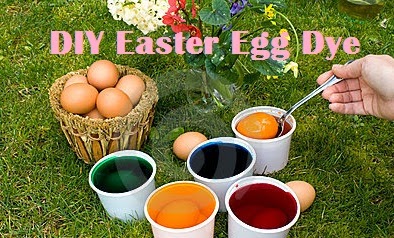
Did you know that you can make your own Easter Egg Dye using food coloring? Well, according to the back of the food coloring box you can. And I didn't doubt that it would work but I wondered about the quality. I also wanted to do some experiments while dying the eggs. What You Will Need: 12-18 Eggs 2-Cups Boiling Water 4-Teaspoons Vinegar Directions: 1. Boil your water. I used the trusty microwave for this step. 2. Divide the water up between bowls. You can use as many bowls as you would like colors. I personally used five bowls. 3. The back of your food coloring box will always have a chart that shows number of drips to create whatever colors you want. For example, three blue drops and one green drop make Aztec Blue. Follow these instructions for best results. You will need to mix the food coloring because the dye will sit at the bottom Plain Eggs TRIALS 1. Can you use a regular crayon to write on your egg before dying? I thought yes be...

Trial Tuesday: Testing Baking Soda Cleaning Hacks

Image
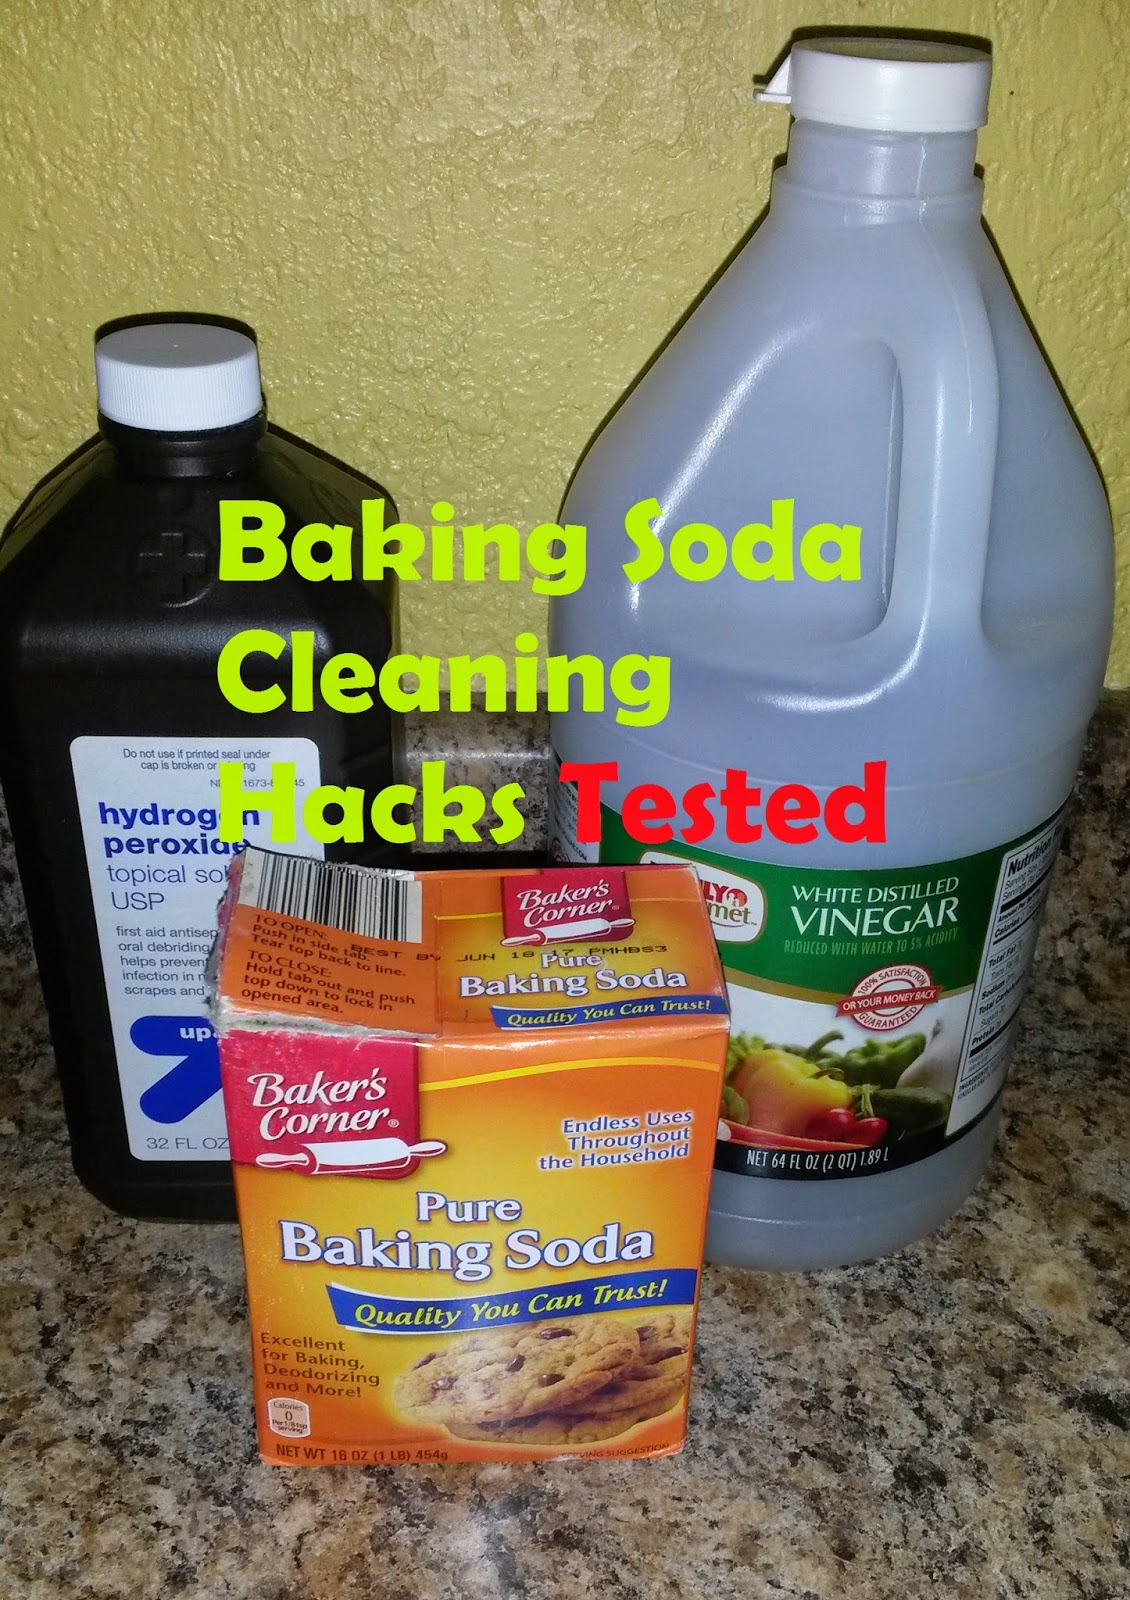
I am in a Spring Cleaning kind of mood.I have been organizing and cleaning now for the last few weeks. To keep in the Spring cleaning spirit, I have decided to test cleaning hacks for the next few weeks. This week I will be testing  Baking Soda cleaning hacks. These hacks in particular are supposed to easily remove grease and burns from your oven, cookie sheets, or stainless steel pans. Cleaning Your Oven Baking Soda and Water Before: I should note that I have a self-cleaning oven that I use (very rarely) because I hate the burning smell that it produces. It's been about 2 months since cleaning the oven with the self-cleaner. Directions 1. Sprinkle the baking soda directly on the oven surface and door. 2. Slowly add the water. 3. Gently scrub to combine the baking soda and water with a scrubbing pad. You will be creating a paste consistency out of your mixture. 4. Allow the mixture to sit for at least 5 minutes before cleaning the paste of...