Posts

Showing posts from September, 2014

Non-Fat Tuesday: Fall Baked Good Recipes
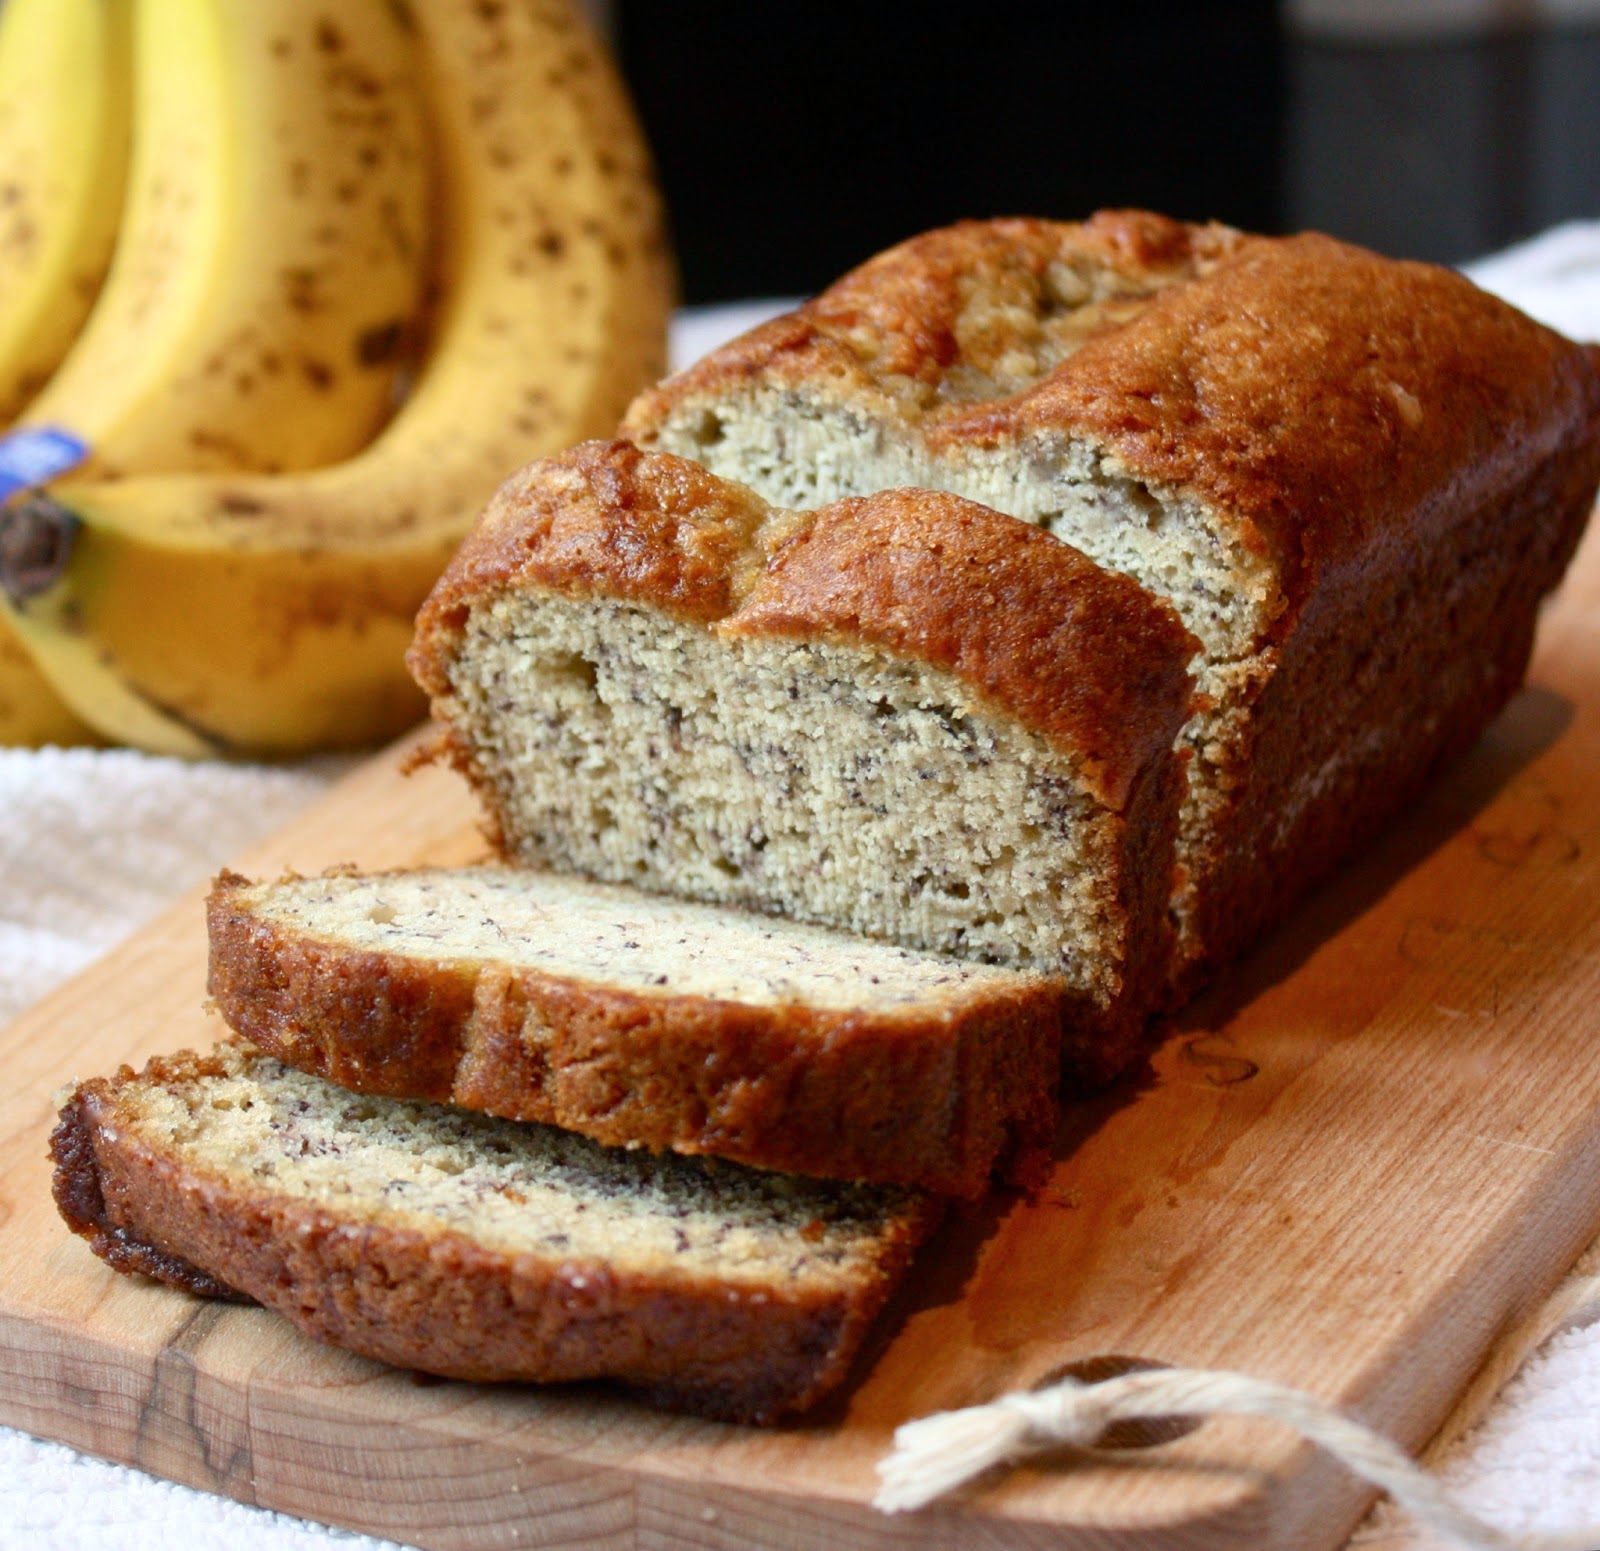
Image
Well, Non-Fat is definitely just a play on words this week because I am bringing you some recipes that will fill your tummy the way that fall food should! I have had a busy week, so I am going to keep it short and sweet and get right to the recipes. Pumpkin Pancakes Ingredients: 1 1/2-Cup Milk 1-Cup Canned Pumpkin (100% Pumpkin only) 2-Tablespoons Vegetable Oil 1/4-Cup Brown Sugar 2-Cups All-Purpose Flour  1-Teaspoon Baking Powder 1-Teaspoon Baking Soda 1-Teaspoon Ground Allspice 1-Teaspoon Ground Cinnamon 1/4-Teaspoon Salt Directions: 1. Mix milk, pumpkin, vegetable oil, and brown sugar in a bowl. 2. Add remaining ingredients by order of the list. 3. Use a 1/4 cup measuring cup to measure out pancakes. Remember, flip when you see bubbles. :) 4. Cook on medium flame until lightly brown on both sides. Apple Muffins Ingredients: 3-Eggs, beaten 1/2-Cup Butter, softened 1/4-Cup Vegetable Oil 1-Teaspoon Vanilla Extract 1/2-Cup Raisins 2-Cups Apple, Peele

Makeup Monday: Nail Art Using Yard Sale Dots

Image
Continuing with the second part of my nail series on Makeup Monday, I am going to be showing you six different ways that you can use yard sale dots to create some simple nail art designs. These dots can be purchased at Dollar Tree or any office supply store. They are available in different sizes so please get whichever size works for the length of your nail bed. Please be sure that if you are using a base coat of polish that you allow time to dry before placing the sticker on your nail to avoid smudging! French Manicure 1. The most simple of all of the designs! Just place the dot under the grown out part of your nail and paint! Result: A pretty straight tip. Reverse French Manicure 1. Chose a light and a dark nail polish combo. 2. Place The dot somewhere in the middle of your nail. Where you place it depends on how big you want your reverse "crescent" to be. 3. Paint and remove. I will say that this design is my least favor

Fashion Friday: Building Your Wardrobe

Image
For those of you that personally know me, I know that it looks like I shop often but I have been building my wardrobe for years! I find it hard to get rid of clothing so I usually hold onto items until I decide that I am never going to wear it anymore. In these years of building my wardrobe, I have learned some tricks to get the best deals and continue to keep my wardrobe looking fresh.   1. Buy at the end of the season. Explore the clearance rack when you are at the store, you never know what you are going to find. If you can't wear an item that you find, save it for next year. There is nothing better than forgetting that you bought something and finding it months later. 2. Build a classic collection. By classic, I mean staple pieces that you can use year round. Some examples are: tank tops, leggings, cardigans, and plain colored t-shirts. Tank tops can be warn alone in the summer or under a cardigan or v-neck sweater in the colder months. Leggings can go under a dress or l

Thrifty Thursday: DIY Hacks

Image
I love looking at pictures and reading about all of the life hacks that people come up with. I have chosen a few of my favorite life hacks that can be done for little to no money and put my own touch on them. Hacks are fun because the possibilities are endless, not to mention can save you some money. Scarf Holder Use shower rings from Dollar Tree on a hanger to hold scarves, belts, neck ties, baseball caps, or purses. If you want to keep your rings from sliding, secure with scotch tape. You can either hang this at the end of your clothes rack or put a nail in the wall and hang it off of that.   Personalized Keys Get rid of these dumb plastic rings to remember which key is for what! Instead, use nail polish to create some great designs on your keys. And if you don't like the design, soak the key in polish remover and start again. Use binder clips to hold up your keys when painting them. While the paint dries as fast as your nails would, I would

How To Do Wednesday: Bathroom and Linen Closet Storage Ideas

Image
As promised, here is part two of my organization series! I am a perfectionist and I love organization. Unfortunately I do not have the space or unlimited resources to have the Pinterest-style organized bathroom of my dreams, but I make it work for the space and budget that I do have. Today, I am going to share tips on medicine cabinet, under-sink cabinet, and linen closet organization. Medicine Cabinet Top Shelf: Face Exfoliator with Scrub Pads, vitamins/ supplements, antacids, and ibuprofen. Middle Shelf: Face toner, makeup remover, facial lotion, and teeth care basket (tooth paste and floss). Lower Shelf: Daily vitamins, face mask creme, deodorant, and toothbrushes. Yes, I keep them in the cabinet because its cleaner than being out and exposed!   Keep your cabinet simple! Limit your medicine cabinet to what you use regularly to keep it orderly. The plastic organizer are drawer organizers from Dollar Tree and come in a three pack for $1. Under-Sink Cabinet

Non-Fat Tuesday: Yoga for Beginners

Image
Yoga is a wonderful exercise that can be done by just about anyone for free in their home. Yes I said free, just go to www.YouTube.com after you read this article and search yoga; you're welcome. Since there are so many variations, instead of focusing on one style I wanted to promote a general beginner's yoga. Since I wasn't sure how to come at this post because there is so much information about various styles of yoga on the internet, I decided to do something different with this entry. Over the weekend I went on my social media page and asked for my readers to send in pictures of their favorite poses in hopes to offer a variety to my readers. While not too many people were able to submit photos by my deadline, I still got some great photos that can be seen below. If these readers can do it, so can you! You just need to find the practice that works for you. Makarasana (Dolphin Pose) Bending Pose Emma Benefits: Strengthens the shoulders and arms,  tones abdomi