Makeup Monday: Nail Art Using Yard Sale Dots
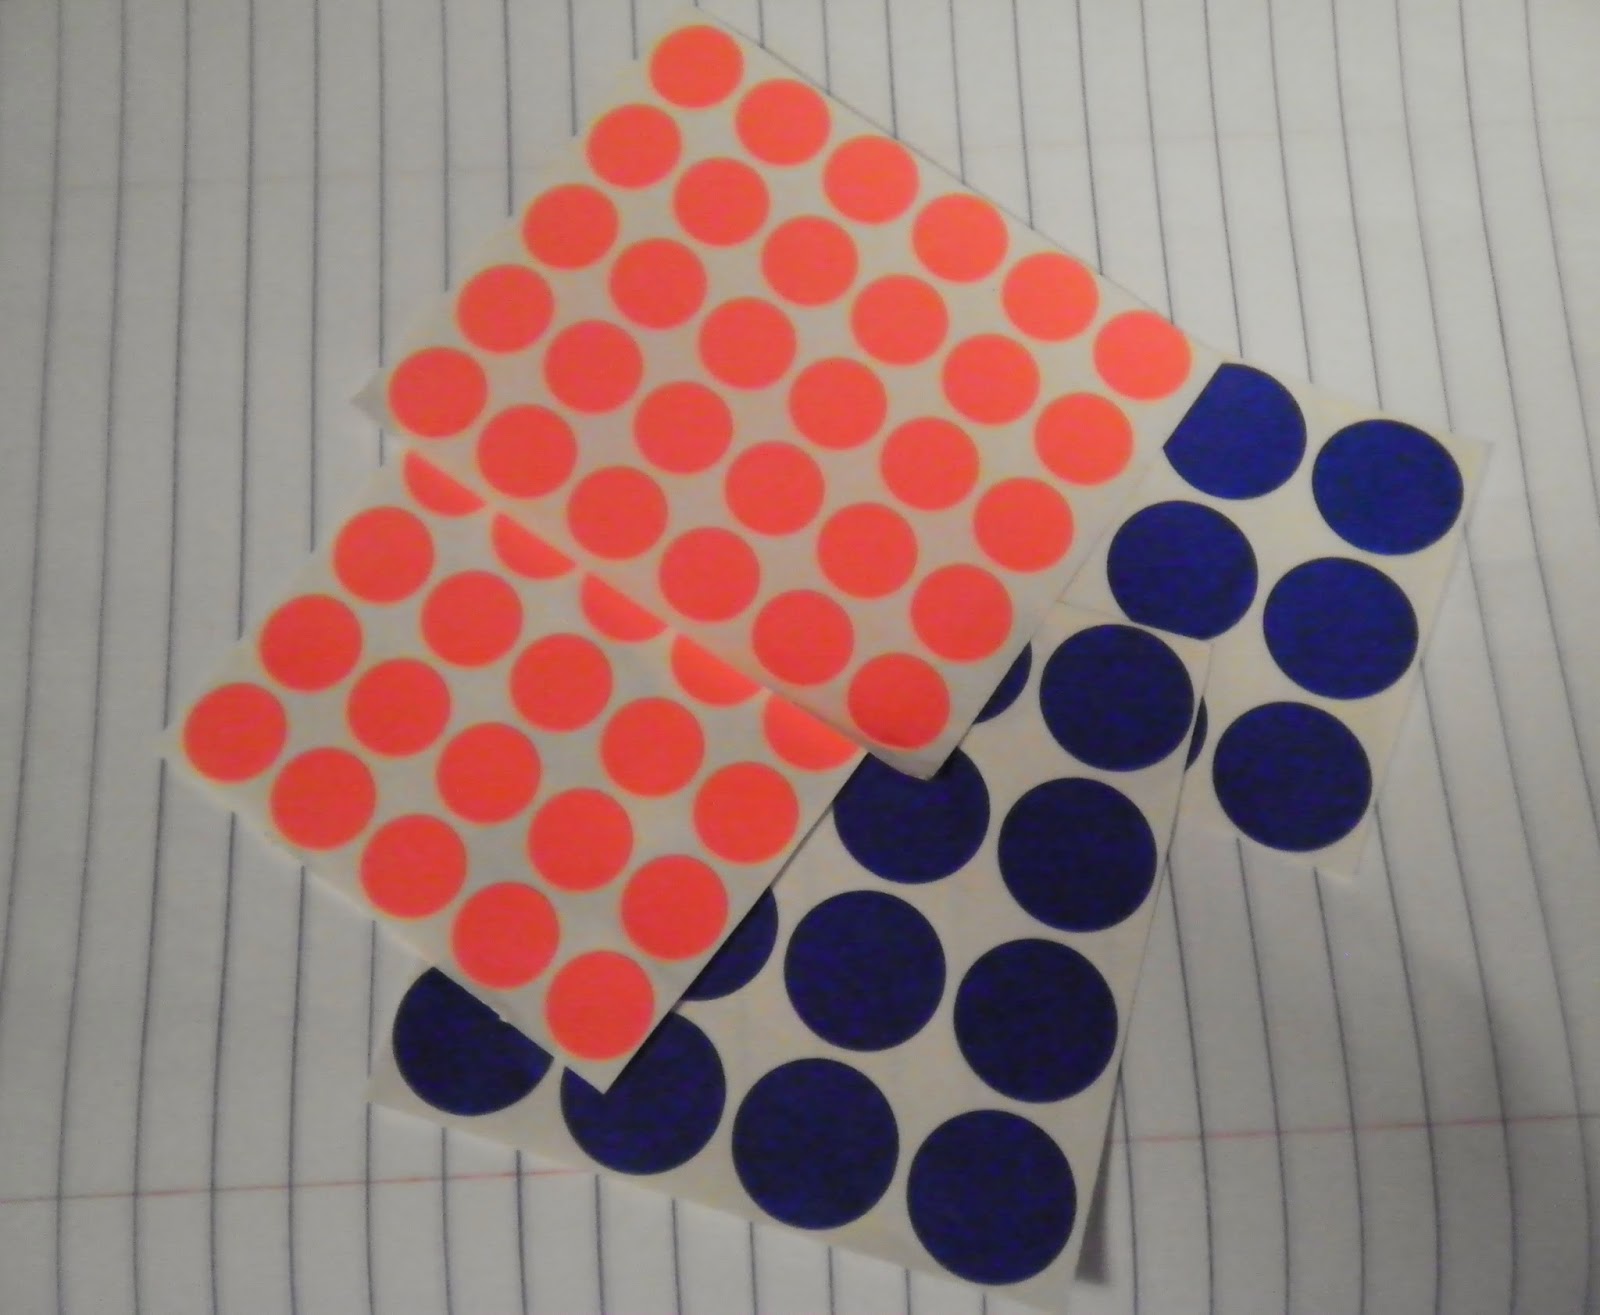
Continuing with the second part of my nail series on Makeup Monday, I am going to be showing you six different ways that you can use yard sale dots to create some simple nail art designs. These dots can be purchased at Dollar Tree or any office supply store. They are available in different sizes so please get whichever size works for the length of your nail bed.
Please be sure that if you are using a base coat of polish that you allow time to dry before placing the sticker on your nail to avoid smudging!

1. The most simple of all of the designs! Just place the dot under the grown out part of your nail and paint!

A pretty straight tip.

1. Chose a light and a dark nail polish combo.


1. Cut two sides of your circle to form a triangle tip


Again, your triangle can vary in width and size depending on where you place the sticker. Wear this design as a french tip or try over another color for a more bold look.

1. Apply a light base coat.


1. Apply base coat.


1. Cut your circle into strips. You can use the strips with the rounded ends on the tip if you want or throw them out.


**Stay tuned for the third and final part to my nail series next week! Leave your comments below letting me know which design is your favorite. Happy Monday and thank you for reading!!**


I really liked the angled design! The colors you chose for that one was great. The other ideas were really good too.
ReplyDeleteI liked the angle design, too! The colors went well together so I did it on all of my nails!
Delete